For my Final Major Project, i decided i wanted my design to be fully original so i wanted to make my own patterns, even if they didn't come out perfectly.
I started with the middle layer, which i wanted as a shift type dress with low cut sleeves.
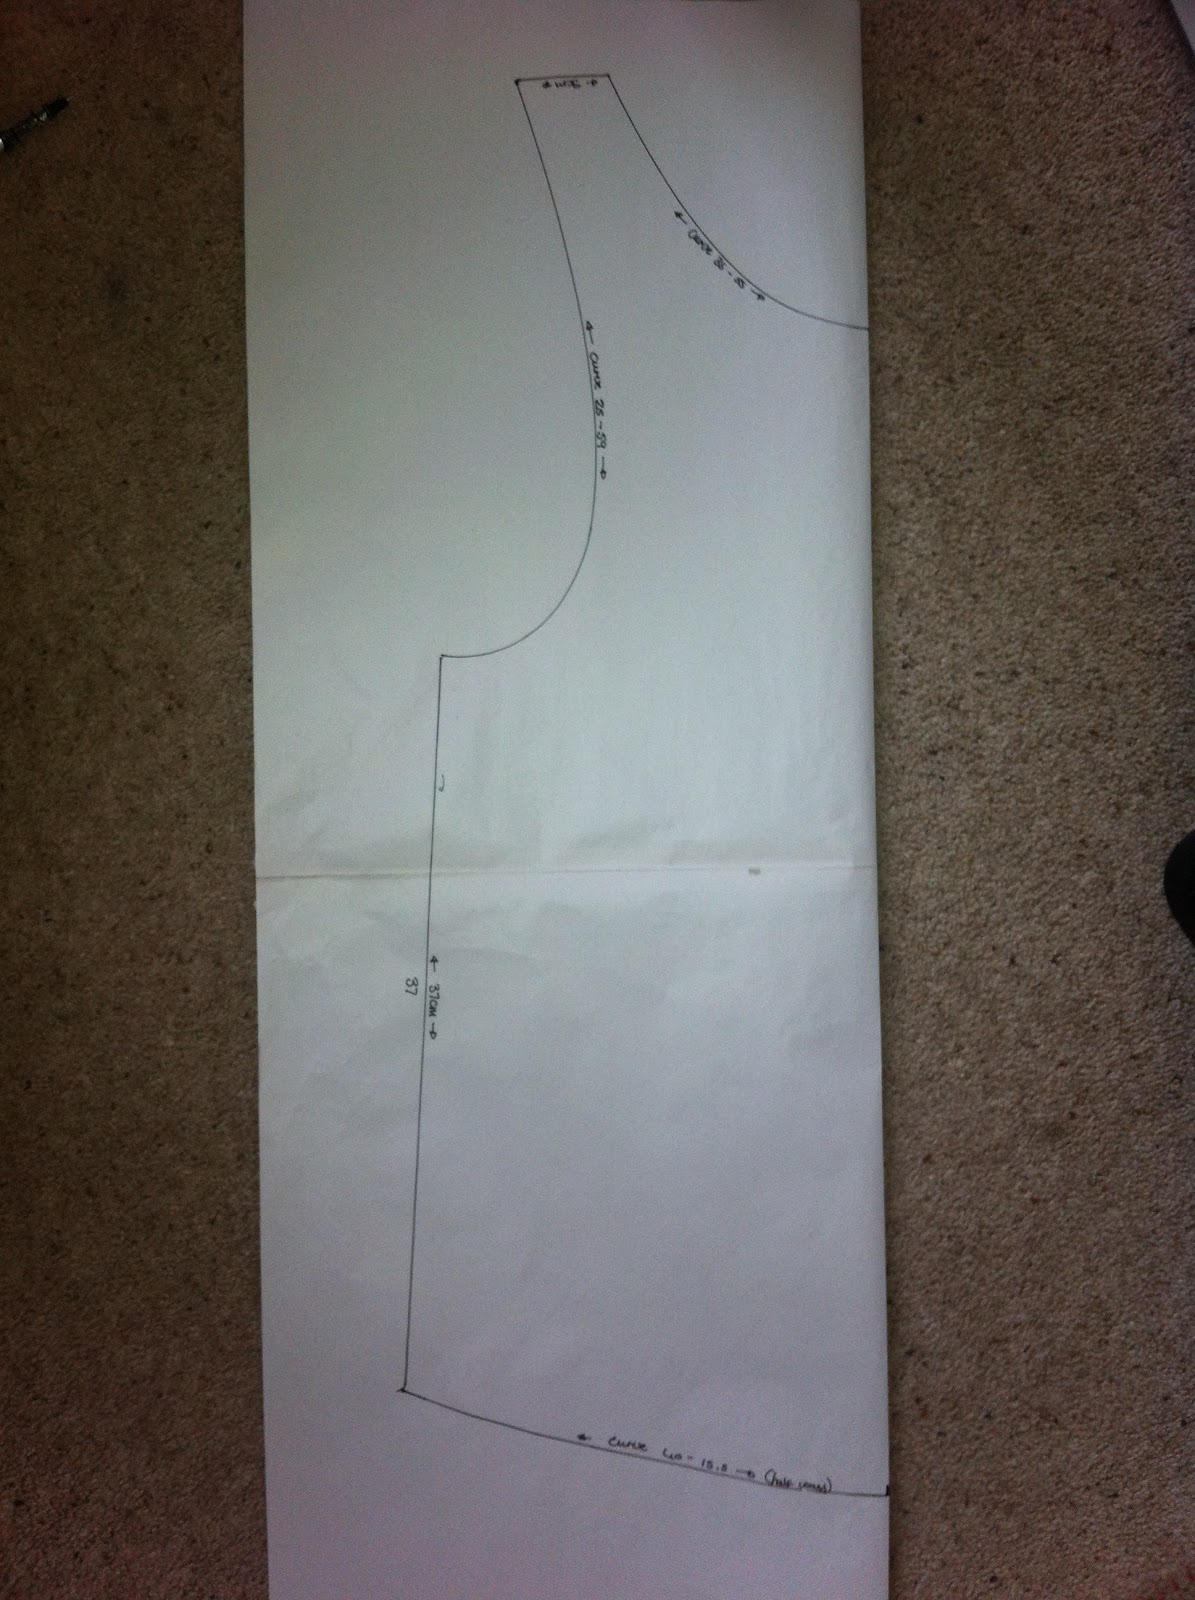
I started by draping paper onto the form and drawing the design on from there.
I then took if off then amended the pattern as i went.
it look me about 4 goes before i was happy with the front of the middle layer of the garment.
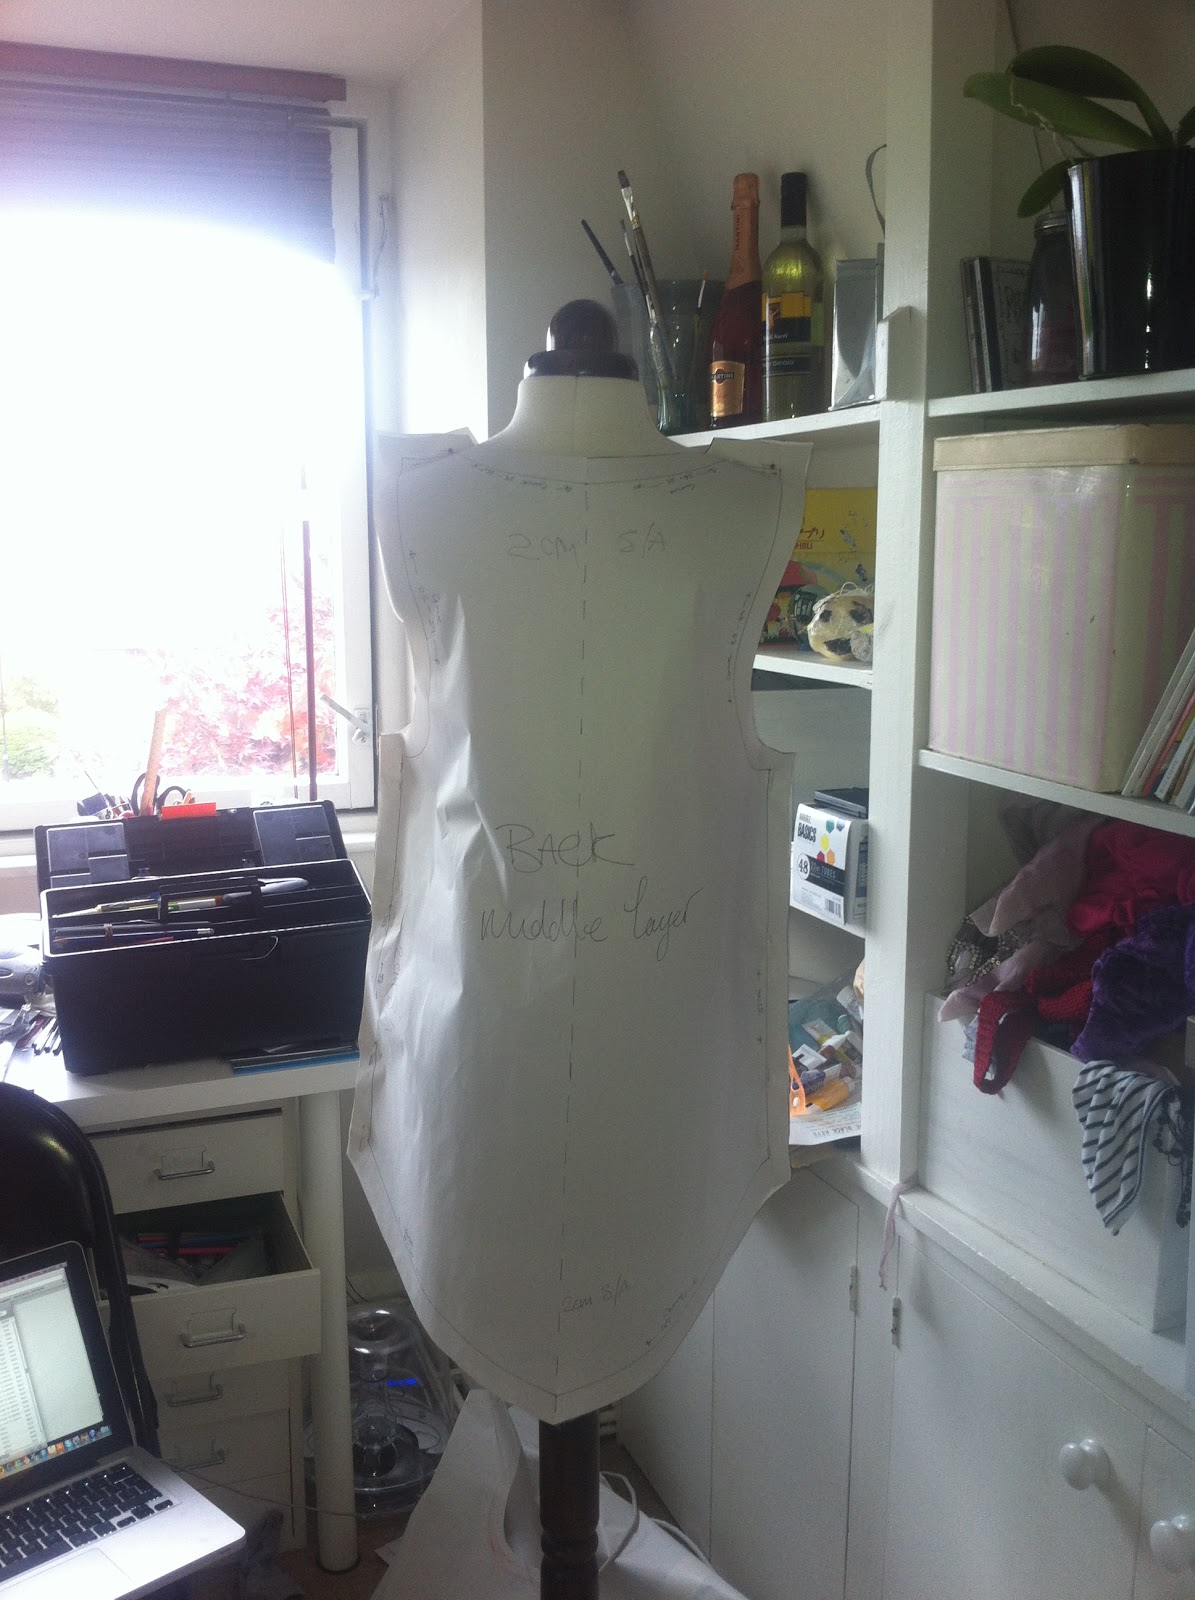
But once i had done the front it was much easier to do the back as i had a better idea.
 |
| Front |
 |
| Side |
 |
| Front |
 |
| Making of Back |
 |
| Making of back |
 |
| Front |
 |
| Back |
 |
| Side |
I wanted a large hood that was quite cape-like.
It look me about 5 hours and loads of drawings to figure it out and to make a pattern that would fit onto the pattern for the garment.
But when i was done i was so relieved and felt like it would finally work


After i had done the hood and put the paper pattern together on the form i realised i could use the same pattern to create the bottom layer of the garment with some slight alterations to detail such as the length. i wanted the bottom layer to be longer as it would create the flowing, rugged look i was going for.


Once i had completed the patterns for the bottom and middle layers, i started on the top, detached layer... this would be a separate piece that is put on over the other two layers and can also be detached entirely and worn separately.
This is way long than the other two layers and has more length at the back with a short, layered front.


No comments:
Post a Comment