Sunday 24 June 2012

Evaluation


                                                       Evaluation
                                                      Final Major Project – Pattern 
                                                               Hayley Young

When I wrote my statement of intent at the beginning of the project, I aimed to create a garment based on my experience in Marrakech using appropriate colours and patterns.  I wanted to use drapery as an element as well as laser cutting and etching as an interesting way of using pattern. As I started my project and tried to realise my ideas I came across a few problems which made me change my mind and develop my ideas into something I could work with.
I was certain I was going to use laser cutting to create my pattern on the final garment so I developed the design on Illustrator and found a company where I could laser cut. Once I got there and tried my pattern on the fabrics I had selected, I realised laser cutting would not work in the way I wanted it to. But I refused to waste the time and effort I had put into it and made an A2 laser cut paper stencil of my design which was then used to heat transfer onto my silk and create my light boxes.                                                                                                I also faced a few 
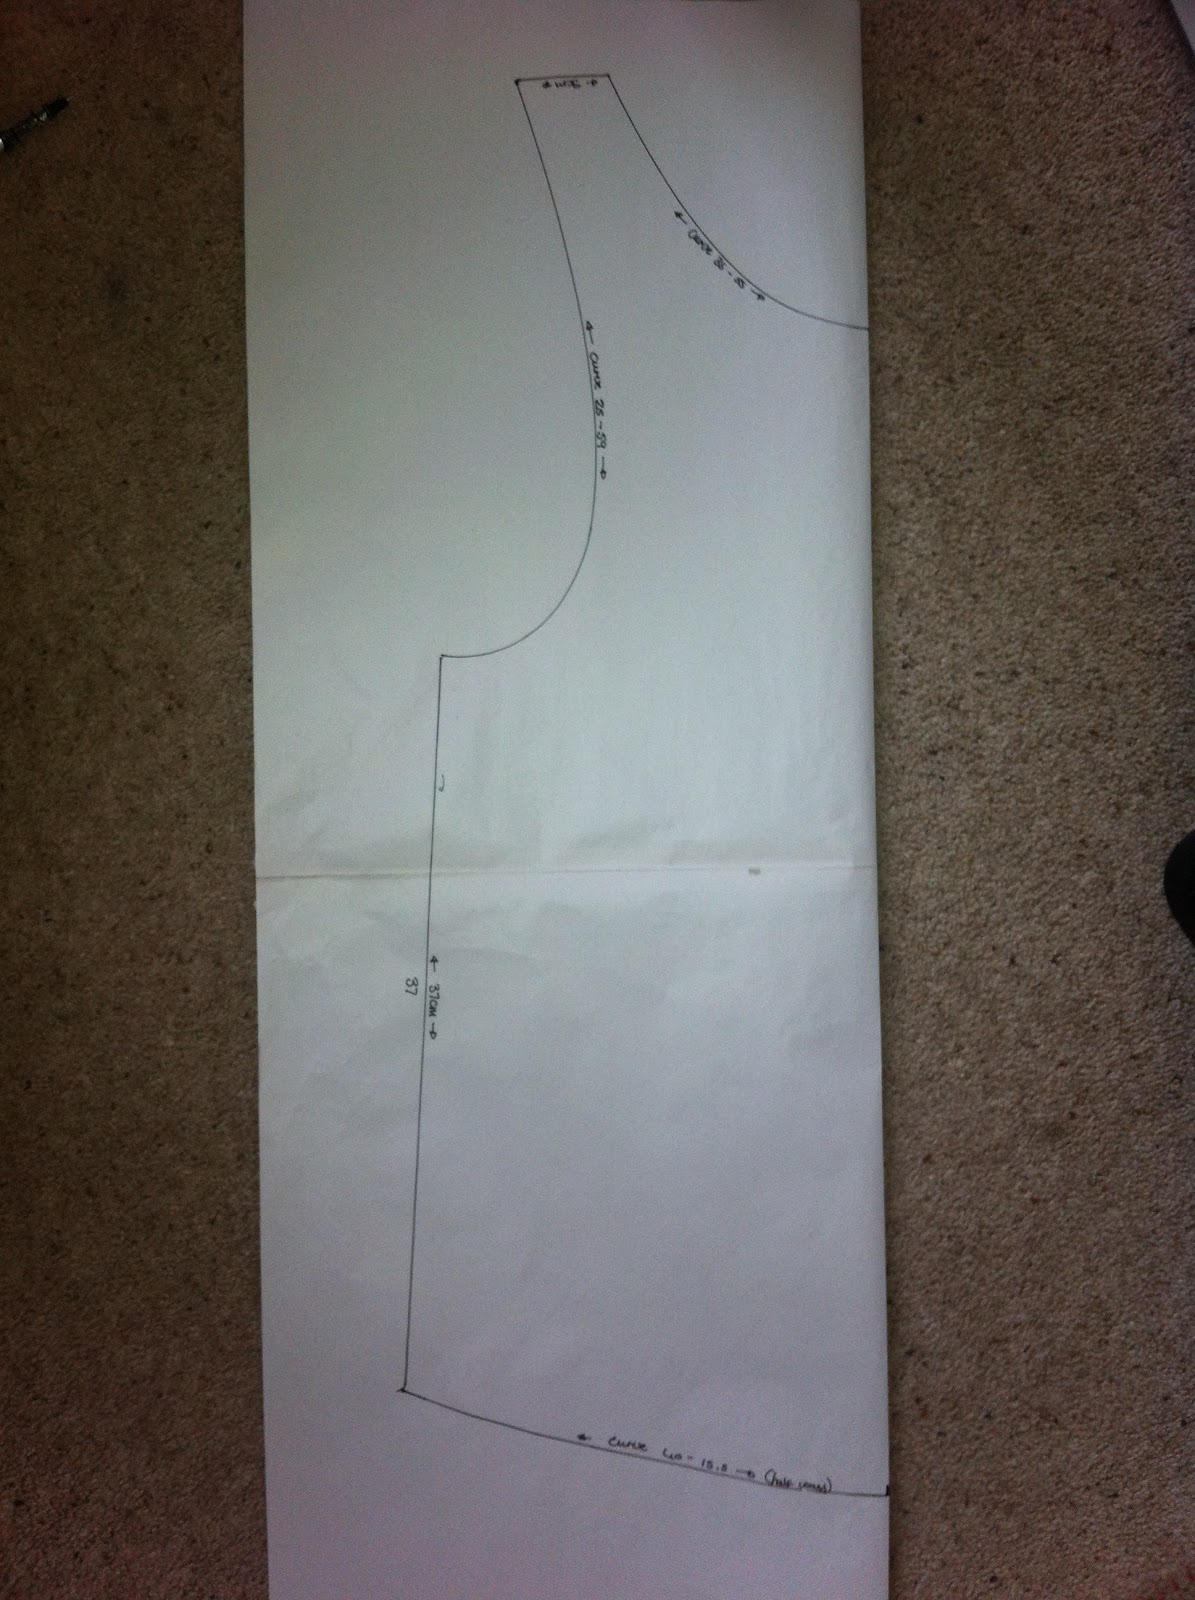
problems with making my patterns and garments. I made my own patterns by initially making paper toiles and then calico toiles, but I could not figure out how to make the kind of hood I wanted. I finally managed after about 5 
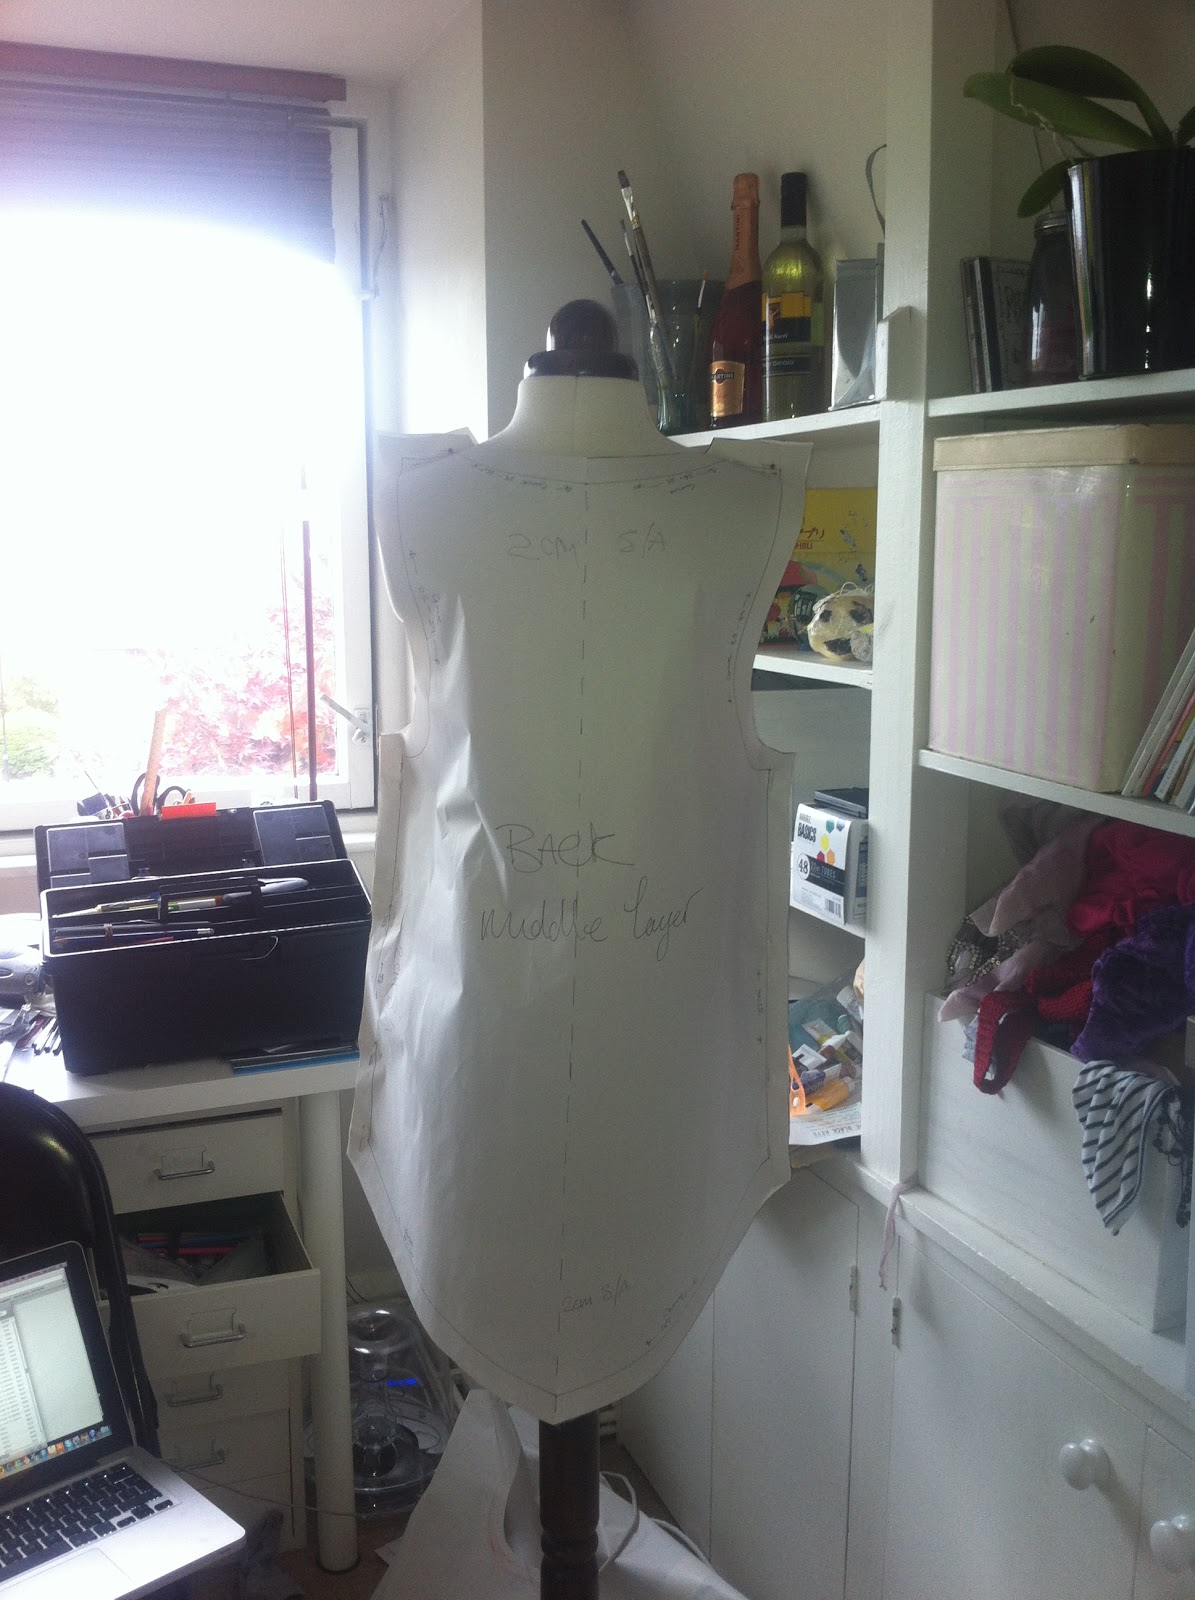
hours of making paper patterns. This was all to be tested again as I tried to make the garments out of the proper fabric. It was so stringy, that every time I cut a curve it all came apart. I then had to transfer my sewing machine to the floor and literally sew centimetre by centimetre and use a scrim fabric as backing to keep it together. This worked for the dress but the hood would not be as good or neat I wanted as I could not keep it together. 
When looking back and thinking about what I could have improved on I think I should have researched my fabric better and found out what would work with laser cutting. I should have looked further into cutting techniques to try and stop my fabric from falling apart. I think I did quite well with time management and roughly stuck to my weekly plan, but I was delayed slightly due to the problems that came up.                                
Even though my detail Ideas changed I feel like I stuck to the basic plan within my statement of intent and managed to create the look I was trying to get. I stuck to my colour palette and the natural fabrics I wanted to use. I put a lot of effort, time and thought into the details and tried my best to do as much as I could independently. I would have been happier with the result if the stitching and cutting were a bit neater and the laser cutting had worked, but I am happy with my finished piece and am proud of what I have learned from the problems and the experience as a whole. 

Exhibition


I was lucky enough to be given three boards for my exhibition. at first this scared me as i thought i didn't have enough to display (i actually could have done with one more). 

It took me a good day to decided where everything was going to go or how things were going to be displayed. but i finally decided on a rustic, busy, mix-match display that was ordered into boxes or specific spaces. 

I chose to make two boards my FMP space and one board a 'best of' board. 


Photo shoot


Originally, I wanted to do my photo shoot in Broomfield Park against some old rusty pull down doors, but unfortunately the plan fell through and i needed to come up with something else quickly. 

So i used the old brick wall and a wooden fence at the back of the college as a scene for my shoot. 
I draped a tin bit of Orange wool against the fence to give a more Moroccan feel and bring in a bit of colour that would hopefully bring out the print in the dress. 

I would have much preferred a different location and a bit more prep but i was really running out of time so had to make do. 


Toiles

Once i had completed all of my paper patterns, i then cut the bottom and middle layer out of calico and sewed where necessary. I cut the top layer from jersey and put that together too. 

Although it wasn't perfect, i was happy with the result and trusted myself enough to cut the final garment. 


Pattern cutting


For my Final Major Project, i decided i wanted my design to be fully original so i wanted to make my own patterns, even if they didn't come out perfectly. 
I started with the middle layer, which i wanted as a shift type dress with low cut sleeves. 

I started by draping paper onto the form and drawing the design on from there. 
I then took if off then amended the pattern as i went. 
it look me about 4 goes before i was happy with the front of the middle layer of the garment. 
But once i had done the front it was much easier to do the back as i had a better idea. 


Front


Side


Front

Making of Back 

Making of back 

Front

Back


Side


I then needed to make the hood. this was a lot more difficult as i had no idea of how i would attach it or make it fall the way i wanted it to. 
I wanted a large hood that was quite cape-like. 

It look me about 5 hours and loads of drawings to figure it out and to make a pattern that would fit onto the pattern for the garment. 
But when i was done i was so relieved and felt like it would finally work 


After i had done the hood and put the paper pattern together on the form i realised i could use the same pattern to create the bottom layer of the garment with some slight alterations to detail such as the length. i wanted the bottom layer to be longer as it would create the flowing, rugged look i was going for. 


Once i had completed the patterns for the bottom and middle layers, i started on the top, detached layer... this would be a separate piece that is put on over the other two layers and can also be detached entirely and worn separately. 

This is way long than the other two layers and has more length at the back with a short, layered front. 


Pattern Printing


As my laser cutting idea didn't work with the fabric i had chosen, i needed to make a new plan of how to get my pattern onto my garment.  I decided to use a stencil i would hand cut similar to the laser cut one i made. But after a few motif cut outs i realised it would take way too long and i had already invested in the stencil so might as well use it. 

I decided on using heat transfer to print on my fabric as it would keep the sheer look instead of a solid, hard look some other printing techniques. 

I mixed had to mix the dispersed dyes to create the colour i wanted. So i used 4 tablespoons of brown to ever 7 tablespoons of orange and painted about 6 a2 sheets of the colour. 

Once this had dried i was able to use the sheets to print on the 3 meters of silk chiffon. 
I had to keep changing the colour sheet after every second transfer to make sure the colour was as strong all round. 

it took me about 5 hours to print the entire length of fabric, and it was so frustrating but i was very happy with the result after i had seen it layered on the other fabric samples. 


Saturday 23 June 2012

Final Garments

I finally started cutting my final garments! But of course, I came across some major problems.

When I started cutting the stringy fabric, the big chunks would come apart on every curve I cut.

This cause a massive delay in the production of my garment as I had to literally sew centimeter by centimeter and make sure all the fabric was backed with scrim.

It took me about 4 hours just to sew the dress part of my garment and about 2 hours to sew the hood.
Once I had sewn the hood and left it for a while I realised I had sewn it wrong and should have done the lining and the good inside out. But unfortunately, I couldn't undo the stitching or recut the fabric as I didn't have enough left.

The stringy texture also caused a problem when it came to sewing the hood on as the sleeve pieces were falling apart too and i had to make do with what i had.

It was really frustrating and difficult to work with this fabric, especially when you don't really know what you are doing. But i wanted the look the material would give the garment to refused to give up.
After all the edges had been overlocked, the details including the messed up hood look way better anyway and i was happy to leave the garment as it was.


After completing the above garment, i decided to do another one in Muslin and Scrim so that I could display the top layer on one and have the bottom two layers on display separately. I chose not to work with the Stringy fabric as i didn't have enough material or time left over. 


Thursday 14 June 2012

Laser Cutting

After finalising my pattern on Adobe Illustrator I sourced a laser cutting company in Dalston where I could make a few samples and see how the laser cutting would work with my pattern on my fabrics.

I was sadly disappointed with the results as I found that all the fabrics I had chosen were too delicate or loosely woven to use with the laser cutter and intricacy of my design.
I refused to waste the time and effort I had put into this and decided to cut an A2 piece of cartridge paper.

This took about an hour to cut as the machine was quite slow according to the technician, and the design was very detailed.


Pattern Development


For the pattern aspect of my project I looked through the material and research I had collected in Marrakech and looked for a motif i could repeat and laser cut for the top layer of my garment. 
The piece that i thought would work best was this drawing of a ceiling window i had seen in an old building as i could turn it into a crisp tile effect and have a strong repeat. 
I could not use it in the original way i drew it and had to go through a few stages to get it right on illustrator and photoshop to be able to laser cut. 

After a few attempts and some serious concentration and thoughts on how it would cut out, i managed to create a repeat pattern i thought i could use with the laser cutter and the silk chiffon i had bought and stained. 

Below are the stages... 


First stage - sketchbook


second stage - development 

Third stage - development 

Fourth stage - development 


Final Motif 


Final Repeat